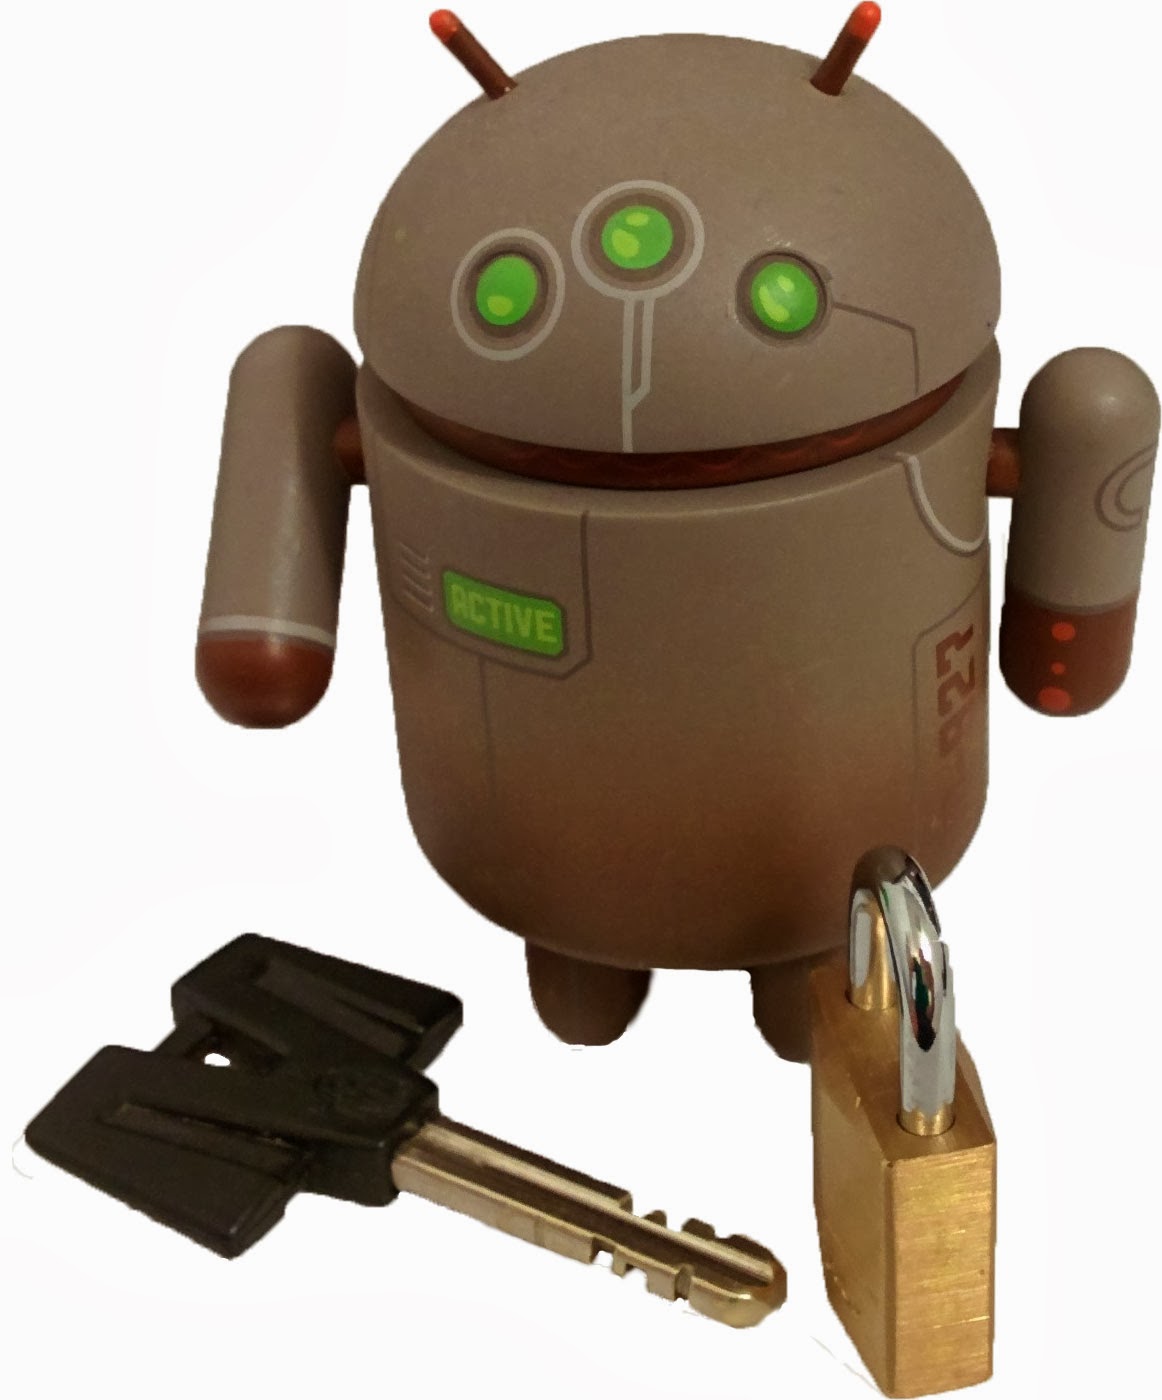
Have you ever been in a situation where you mistakenly (or not) wiped the content of the internal storage (including system partition and virtual SD card) on your phone or tablet and unfortunately it doesnt support external storage? Now you cant flash desired custom ROM because you removed it and the device cant be booted due to wiped system partition. Dont worry - its very easy to fix!
Here are the steps you need to follow to copy the correct rom.zip package to your internal storage:
Download this mini-sdk package and extract it to c:mini-sdk
Rename the custom ROM package you want to flash to "rom.zip" and copy it to c:mini-sdk
Connect your device to the PC
Boot your device in recovery mode
Open a command prompt on the PC (cmd.exe), type and confirm each command with ENTER:
cd /d c:mini-sdk
adb shell
mount /data (error might mean that /data partition is already mounted)
on Android 4.2 and above: mkdir -p /data/media/0
on Android 4.1.2 and below: mkdir -p /data/media
exit
on Android 4.2 and above: adb push rom.zip /data/media/0
on Android 4.1.2 and below: adb push rom.zip /data/media
Wait for a few minutes until the file is copied. It will looks like command shell is not responding, but that means its still copying. Wait patiently until youll see blinking cursor again.
Depends on your custom recovery, use the navigation keys to flash the custom rom.zip package in a typical way you used to flash custom ROMs. It should be on your internal storage now. Done!
Have any questions or comments? Feel free to share! Also, if you like this article, please use media sharing buttons (Twitter, G+, Facebook) below this post!
Heres a simple tips on Samsung Galaxy Ace that help how to free up internal memory with just one click. All you need to have is a rooted Samsung Galaxy Ace and install and used this application called "Gemini App Manager" its Free and already proven works and tried myself.
This "Gemini App Manager"can move application such as facebook, twitter etc. This also move maps but my experience I say dont move Maps as its system application and needs to acess gps,wifi and many other system rescources so leave it on internal memory bcoz if u forecfully moved map, it will become unfuntional of no use, so leave it as it is
Features of this application: Show app information (including risk info, e.g. show which app can call outgoing, or can send out SMS, or can use Camera, or can find your location (GPS), etc), Autorun management (enable/disable conditions for autorun), Kill process (one key RAM optimize, kill all, or kill by selection), Move/batch move apps from phone to SD card(Android 2.2 or later), Move/batch move apps from SD card to phone(Android 2.2 or later), Uninstall/batch uninstall apps, View application details Clear app cache, View app on market, Sort apps by multi ways, Filter apps by multi ways,
Grab the application here: http://www.appbrain.com/app/gemini-app-manager/com.seasmind.android.gmappmgr
Posted by Rajen Sheth, Director of Product Management, Chrome
Cloud applications allow flexibility, scalability and security and enable a work-anywhere environment, but many of our customers still use traditional desktop applications. Desktop as a Service (DaaS) helps bridge the gap between the cloud and a traditional desktop by allowing you to run your traditional software in the cloud and have applications appear on your Chromebook similarly to how they run today. An example might be your Windows based accounting application.
Chromebooks have continued to help more and more customers over the last year. According to NPD, Chromebooks made up 21% of U.S. commercial laptop sales in 2013. Customers prefer the low total cost of ownership, the central web-based management console and the fact that they dont need any additional security or anti-virus software. These are reasons why businesses large and small are adopting Chromebooks.
Today, customers can fully embrace the cloud with Chromebooks using VMware Horizon™ DaaS®. VMware and Google are working together to make the migration of legacy applications even easier, by using the HTML5/Blast experience from Chromebooks. This means you can work with Chromebooks and connect to a Windows experience running VMWare™ Horizon View.
As the countdown to Windows XP end of life continues, deploying Chromebooks and taking advantage of a DaaS environment ensures that security vulnerabilities, application compatibility and migration budgets will be a thing of the past.
VMware Horizon DaaS enables customers to centralize other desktop environments and manage these as a cloud service. Initially available to customers as an on-premise service or by VMWare vCloud Service Provider Partners (VSPPs) offering DaaS in the cloud or within hybrid deployments. Users will be able to access their Windows applications, data and desktops using VMware’s Blast HTML5 technology to their Chromebook.
This technology is available now by bringing together VMware Horizon View 5.3 and Chromebooks as an on-premise service and will be available soon as an application that can be installed from the Chrome Web Store. To find out more follow this link.
In this multi-screen world, switching between our different devices should be easy and seamless. Common platforms allow for one connected experience across our phone, tablet and PC, so we get the right information at the right time, no matter what device we’re using. But there’s still an important device that isn’t yet connected as seamlessly to the other screens in our lives – the car.
To help address that gap, today we’re announcing a new partnership that will bring Android, the world’s largest open platform, to the open road. Google has teamed up with automotive and technology leaders Audi, GM, Honda, Hyundai and Nvidia to form the Open Automotive Alliance (OAA), a global alliance aimed at accelerating auto innovation with an approach that offers openness, customization and scale.
Today, millions of people already bring Android phones and tablets into their cars, but it’s not yet a driving-optimized experience. Wouldnt it be great if you could bring your favorite apps and music with you, and use them safely with your cars built-in controls and in-dash display? Together with our OAA partners, were working to enable new forms of integration with Android devices, and adapting Android for the car to make driving safer, easier and more enjoyable for everyone. Putting Android in the car will bring drivers apps and services they already know and love, while enabling automakers to more easily deliver cutting-edge technology to their customers. And it will create new opportunities for developers to extend the variety and depth of the Android app ecosystem in new, exciting and safe ways.
But this is just the beginning; we welcome other automotive and technology companies to join the OAA, to work together to build a common platform to drive innovation in the car and bring Android to the open road. Learn more about the OAA at openautoalliance.net, and stay tuned in 2014 for more updates coming soon to a car near you.
Posted by Patrick Brady, Director, Android Engineering
Android tips and tricks: Android phones arguably superior in terms of quality, for example, the display interfaces, the number of applications that are useful and entertaining. But what about the battery resistance.
Because often download the application or activate the wireless network, it could be broken because the energy capacity of batteries drained.
There are a few Android tips you can do to make your android phone battery life can be more durable:
Manage wireless networks or wireless wisely. We recommend that you do not activate the entire connectivity available on mobile phones simultaneously, for example by turning on Wi-Fi, GPS, and Bluetooth.
Reduce screen brightness level. Mobile phone screen is bright indeed make a clearer. But beyond that, the higher the level of screen brightness, the greater the power output your cell phone battery.
Use one feature alone to tell if there are new messages. If there is email, instant messages, short messages (SMS), or call into the Android phone, it does not need the phone rang too loudly and vibrate. Just use one of the two earlier features, sound or vibrate so that the battery is more efficient.
Enabling an important email only. If you have five email accounts and everything is active, you should choose which email is the most frequently used and will be activated throughout the day. The reason, more and more applications, such as email, live streaming, radio, or an active social media at the same time, the greater the battery power is needed.
Always keep a spare battery. When the battery charge, you are advised not to pull out if its capacity has not reached half. Because, if the battery has not reached 50 percent occupied and has been used again, the stored energy will be easily drained because its still small.
Editors note: Today’s guest blogger is Bill Oates, Chief Information Officer of the City of Boston. See what other organizations that have gone Google have to say.
In November, the City of Boston was named the #1 Digital City in America by the Center for Digital Government. While this recognition is based on a variety of measures, a key element is the city’s efforts to engage and connect with constituents using mobile technology and social media. As a tech-savvy city, we’re always looking for the best IT tools to help our government run smarter, innovate more effectively and provide better services for our citizens. Our most recent innovation was the successful migration of 76,000 email accounts from a collection of our premise based systems, mostly Microsoft Exchange, to Google Apps. Not only are all city departments, including the Boston Police Department, now on Google Apps, but every teacher and more than 50,000 public school students each has an individual Google Apps account.
Our new unified, cloud-based communication system is pretty big change from our old set-up. Our agencies worked together to manage their mail environments, with resources focused on mail administration and working across the group structures. Our largest department, the public school district, operated on a very separate environment that was in need of a major technical upgrade.
As the city evaluated an upgrade to communication and collaboration infrastructure, we clearly saw cloud services as the most cost effective, supportable platform to address our future needs. In 2013, following an extensive review of the market, the city initiated a rigorous RFP process that attracted an wide array of bids, including multiple Microsoft and Google cloud offerings. A selection committee composed of members from our City IT organization, Boston Police, and Boston Public Schools evaluated 10 proposals based on both cost and technical capabilities. The committee unanimously chose Google Apps based on its ability to meet the needs of a fast moving city while providing a secure cloud environment.
Going Google on such a large scale has many benefits. We gained reliability and security compared to our prior configuration of Microsoft Exchange servers, which required extensive upkeep, upgrades and patches. The Boston Police department, for example, now has a reliable, scalable system that supports its 24/7 operation with Gmail’s 99.9% uptime guarantee. More than 3,000 police employees, including 2,100 sworn officers, use Google Apps to communicate with one another as well as to streamline reporting processes.
All in all, we’ve securely moved more than twenty million email messages to the cloud. Every city employee — from police, to education, public works, transportation and beyond — has a Google account and a boston.gov email address accessible from any device, anywhere. We are confident Google’s secure, FISMA-compliant cloud environment ensures that city data is safe and private.
The Google Apps platform now sits at the center of our drive to infuse innovation in every aspect of city government and enhance collaboration. After 20 years in office, Mayor Thomas Menino is departing – making way for incoming Mayor Marty Walsh, and we’re proud to hand the new administration the country’s most advanced, fully-functioning, cloud-based communications system to keep our city at the forefront of technology innovation.
Posted by Trevor Johns, Android Developer Relations team
In order to encrypt data, you need two things: some data to encrypt and an encryption key. The encryption key is typically a 128- or 256-bit integer. However, most people would rather use a short passphrase instead of a remembering a 78-digit number, so Android provides a way to generate an encryption key from ASCII text inside of javax.crypto.SecretKeyFactory.
Beginning with Android 4.4 KitKat, we’ve made a subtle change to the behavior of SecretKeyFactory. This change may break some applications that use symmetric encryption and meet all of the following conditions:
Use SecretKeyFactory to generate symmetric keys, and
Use PBKDF2WithHmacSHA1 as their key generation algorithm for SecretKeyFactory, and
Allow Unicode input for passphrases
Specifically, PBKDF2WithHmacSHA1 only looks at the lower 8 bits of Java characters in passphrases on devices running Android 4.3 or below. Beginning with Android 4.4, we have changed this implementation to use all available bits in Unicode characters, in compliance with recommendations in PCKS #5.
Users using only ASCII characters in passphrases will see no difference. However, passphrases using higher-order Unicode characters will result in a different key being generated on devices running Android 4.4 and later.
For backward compatibility, we have added a new key generation algorithm which preserves the old behavior: PBKDF2WithHmacSHA1And8bit. Applications that need to preserve compatibility with older platform versions (pre API 19) and meet the conditions above can make use of this code:
import android.os.Build;

SecretKeyFactory factory;
if (Build.VERSION.SDK_INT >= Build.VERSION_CODES.KITKAT) {
   // Use compatibility key factory -- only uses lower 8-bits of passphrase chars
   factory = SecretKeyFactory.getInstance("PBKDF2WithHmacSHA1And8bit");
} else {
   // Traditional key factory. Will use lower 8-bits of passphrase chars on
   // older Android versions (API level 18 and lower) and all available bits
   // on KitKat and newer (API level 19 and higher).
   factory = SecretKeyFactory.getInstance("PBKDF2WithHmacSHA1");
}
Posted by Phil Young, Head of Online, Transport for London
Editors note: Today’s guest blogger is Phil Young, Head of Online for Transport for London, one of the world’s biggest and most integrated metropolitan public transport systems. See what other organizations that have Gone Google have to say.
Each weekday, more than six million journeys are made on buses in London and over three million on ‘the Tube,’ as our 150-year-old underground system is affectionately called. Transport for London (TfL) oversees those transit systems -- as well as the trams, taxis, riverboats, the Barclays Cycle Hire scheme and the main roads throughout London. We are responsible for keeping London moving and growing and making life in the city better.
As part of a ground-up redevelopment of our increasingly popular website we are putting interactive mapping at the centre of our travel information to make it easier for travellers to see their options and get around faster than ever before. To do this, we’re introducing Google Maps for Business and Google Places API as part of our site to give customers one consistent, easy to use way of navigating around.
Our web services grew organically over time, resulting in over 70 different websites for the numerous services we offer. In 2007, we made a big step forward, visually integrating these sites with a common look and feel. Our website now receives over 250 million visits annually and the International Association of Public Transport named us the best public transport authority website in the world. But, theres still so much more we knew we could do to help our customers get from point A to point B and better integrate all of our work into one single site, with a load of new functionality.
We released the beta of the new TfL site in June and expect to go live with the final version early in 2014. One of the great things about the new site is that it uses responsive design to give a great experience on any device - mobile, tablet or desktop. We chose Google Maps for Business because it offers the best combination of usability, accuracy and user experience. It was the best tool to help integrate new functionality such as:
Moving from five different map platforms to one comprehensive map
Revamping our ‘Journey Planner’ with integrated Google Maps, which makes it really easy to use
Integrating an ‘Interactive Roads’ tool that highlights areas affected by incidents or events on the map
Adding a ‘Nearby’ feature, which shows real-time information on all the transport services that are around your current location. This includes arrival times of the next bus or train and even how many Barclays Cycle Hire bikes are available at any given docking station at that time.
We’ve built all of this around a single API which we’ll soon be sharing with developers as part of our open data portal. This will make it so much easier for new and improved smartphone apps to be created.
In 2014, we’ll move the site out of beta and begin to develop more personalised features, based on a single user login, to make planning journeys, checking on status or buying and managing tickets so much easier.
Dont like your kids to use with your mobile or someone to read your emails, SMS, pictures videos on your Android Dives? Don’t worry, now you can lock it with a password, pin, and pattern Unlock. You can follow the easy steps below to configure your android dives. This the step you can follow
Go to Menu > Select “Settings” > select “Location and security”
Select “Screen lock”
Choose you want lock type (None, pattern, pin, password)
Want to access your phone use your security type to access your phone.
I dont buy into the iPad as a laptop replacement—not quite. But it is fantastic at tapping into your computers to access video and audio, documents, and even your full desktop, remotely. Heres how.
The iPad is first a foremost a device for consuming media, and where is most of your media if not on your desktop or laptop? All your videos, both self-created and downloaded; your music collection, which is so much larger than your iPads flash storage can dream of accomodating; your store of documents, which contain so much information about you, your work and your interests. On your iPad, this stuff is too often there, not here—but it doesnt have to be.
You can easily access all of these things from your iPad with a set of simple-to-use apps, and where those dont work, you can actually control your computer—mouse and all—from your iPad. Heres what you need:
Audio and Video
Audio and video streaming on the iPad is, for the time being, the domain of two apps: Air Video and StreamToMe. Theyre extremely similar, sharing their $3 price, iPhone compatibility, and an underlying video conversion library, but a few key differences will determine which one you need to download. So!
If you...
• Have a Windows PC • Dont need to stream audio • Tend to store your content in h.264/mp4 files
Go with Air Video. Its a wonderful app, which lets you stream video—even in formats not natively supported by the iPad—both locally and remotely (with simple port forwarding), and which has both Mac and PC server software. Its flexible as well, giving you precise control over streamed video quality, and options for either transcoding video live, or pre-converting it before streaming.
SEXPAND
h.264 playback, even in HD, seemed cleaner and bit smoother than in StreamToMe, so if youve ripped or downloaded most of your content in that format, Air Video is a slightly better choice. It transcodes your downloaded .avi file beautifully, too.
(Note there currently isnt a good DLNA streaming app, though once its bugs are worked out, PlugPlayer shows promise. For the time being, Air Video is the only way to stream and transcode your video library stored on a Windows PC)
If you...
• Have a Mac • Want to stream audio files as well
Then you should download StreamToMe. It too can transcode video in real time, so you dont need to worry about converting your home video files or P2P downloads. Its main advantage over Air Video is that it can stream audio. Itd be nice if the app had an iTunes-style artist view, but if your iTunes music folder is organized by artist name and album title (if you havent told it to do something else, iTunes will have taken care of this for you), navigating through and playing songs is pretty straightforward.
SEXPAND
The setup routines for both apps are nearly identical. Each requires a server app to be run on your computer, which needs to be pointed to your video library, and each will automatically recognize your computer over a local network. For remote streaming, each app provides guidance for which ports to forward on your router. (For instructions for your specific router, check here.) This means you can stream your home video from anywhere—work, a hotel room, whatever—over Wi-Fi.
Documents
Document sharing on the iPad isnt particularly easy, relying on the awkward iTunes file sharing system, which only lets you access documents in the app theyve been flagged for. To browse apps in a more useful way, youll need get an app called GoodReader. Its $1.
SEXPAND
GoodReader is an app that enables you to connect to all kinds of file servers, be they cloud-based (Google Docs, Dropbox, or MobileMe) or local (an FTP or WebDAV server). Once connected, GoodReader lists files that can be read on a given server, which are left up to the iPads inbuilt viewers to display. This means that Word, Excel and PowerPoint documents, as well as a range of other text files, images, and even audio files, can be opened in the app.
SEXPAND
One of the most compelling features of GoodReader is that it can turn your iPad into a local file server, which you can mount and connect to from any Mac or PC. This feature lets you drag and drop your documents to the iPad, as if it were a NAS device. (GoodReader also shows up in the iTunes USB file transfer dialog, but Wi-Fi drag-and-drop transfer is much faster and easier, once its set up.) Instructions for server setup are available here.
Additionally, using the apps "Manage Files" pane, you can sort, administer and email your documents as well. Its basically like having a disk for all kinds of media, on your iPad, along with a file browser. Ha!
Controlling Your Desktop
If you want full access to your computer, video, audio and document file servers wont be enough. What about your applications? Your iPad-incompatible files? Your entire desktop? To get that kind of control, you need to use VNC.
From our previous How To guide on the subject:
VNC (virtual network computing) is one of those tricks that never gets old, and having it set up can often save your ass-whether you left some info on your home computer that you need at work, want to check on your massive BitTorrent queue to schedule the evenings entertainments, or help your poor parents use clip art in Microsoft Word, having remote access can be handy dandy.
For full setup instructions for Windows and OS X, follow our guide here.
Once youve done that, youll need an iPad VNC client. The iPad App Store already has a handful of VNC apps available for download. The ones Id go with are Mocha VNC Lite (a free, limited-capability app), and if you find you like the VNC concept, the $12 Desktop Connect.
SEXPAND
Its strange, controlling a mouse-based computer from a touchscreen device, but theres one option Ive found makes life a lot easier: In Desktop Connect, turn Touchscreen Mode off. This options has you control the mouse as if the whole touchscreen is a trackpad, rather than having to guide the mouse directly with your finger. After a few minutes, youll be clicking around Windows or OS X without thinking about it.
Most smart phone and smart android phones already have this feature built in to the phone. wi-Fi hotspot simple meaning wireless access point, Wi-Fi hotspot is sharing internet between wi-fi devices.
You have wi-fi hotspot device you can share internet connection to your friends smart phones, and other wi-fi enabled devices. Ex.smart phones, laptop, etc..,.
I am going to explain how to Active Wi-fi hotspot and how to share internet connection on your samsung galaxy y android phones.
You can follow these simple steps
Go to menu > settings > Wireless and networks.
Select Tethering and portable hotspot.
Select portable Wi-Fi hotspot settings.
Select Configure portable Wi-Fi hotspot settings.
Type Your Hotspot Network SSID Name.
Select Security type open > save
Select (Tic) portable Wi-Fi hotspot.
Now you can share internet other WI-Fi enable devices. Enjoy.
Want to install Mac OS X Mavericks Hackintosh on your PC? Thanks to the latest UniBeast release which adds support for Mavericks, you can now have best of both worlds (Windows and Mac) on your Intel-based PC.
The following guide will help you install OS X Mavericks v10.9 on your PC.
Requirements:
Access to Mac for downloading OS X Mavericks from MAS and creating UniBeast drive.
8GB+ USB flash drive.
An Intel based PC capable of running Mavericks.
Guide on how to install OS X Mavericks Hackintosh on your PC:
Step 1: On your Mac, download OS X Mavericks for free from the Mac App Store. Make sure the downloaded installation file is in /Applications folder.
Step 2: Download the latest version of UniBeast and MultiBeast from here.
Step 3: Format your USB flash drive using Disk Utility on Mac with the following settings:
Start Disk Utility on Mac. Select your USB drive from the left hand column.
Select the Partition tab from the right side. Click on Current dropdown menu and choose1 Partition.
Now click on Options… button, select Master Boot Record.
Type ‘USB’ as the Name for the drive. Select Mac OS Extended (Journaled) as Formattype.
Once done, click on Apply followed by Partition.
Step 4: Now start UniBeast that you downloaded in Step 2 above.
Step 5: Skip through the first few screens by clicking Continue or Agree, until you get toDestination Select screen.
Step 6: Select your USB drive and click Continue to proceed.
Step 7: On Installation Type screen, make sure Mac App Store Mavericks – 10.9 is selected in packages. Additionally, select Legacy USB Support if you are using an old system with Socket 1156. Select Laptop Support package if you are installing it on a notebook PC. Once done, clickContinue, enter admin password for your Mac if prompted, and let UniBeast make a bootable Mavericks hackintosh USB flash drive for your PC.
Once done, move MultiBeast file that you downloaded in Step 2 above to this bootable Mavericks hackintosh USB drive (you will need this later).
Step 8: Now insert this bootable Mavericks hackintosh drive in your PC. Make sure the BIOS is set to boot the system from USB devices. When you boot from the USB drive, you will see Chimera boot screen, select “USB” and hit Enter on keyboard to continue.
Step 9: Once you are into OS X installer, you need to format the HDD you want to install Mavericks to using Disk Utility with the following settings:
On the menu bar, click on Utilities, then start Disk Utility.
Select the HDD you want to install OS X to from left hand side.
From right side, click on Partition tab, then click on Current dropdown menu and choose 1 Partition.
Now click on Options… button, choose GUID Partition Method.
Type ‘Macintosh HD’ as the Name for HDD. Select Mac OS Extended (Journaled) asFormat type.
Click on Apply followed by Partition to partition the drive.
Step 10: Once done, close the Disk Utility program, go back to the installer. Select “Macintosh HD” as the drive you want to install OS X to.
Click on Install for the installation to begin.
You’re almost there! Once the OS X installation is complete, you need to make this HDD bootable. This can be done using MultiBeast utility. MultiBeast can not only make OS X HDD bootable, but can also install the required drivers for audio, WiFi, graphics, LAN and more.
Step 11: Reboot your system again using the bootable Mavericks hacktintosh flash drive. From the Chimera boot screen, select “Macintosh HD” this time.
Step 12: Start MultiBeast, from here, choose all the drivers required for your PC. Once done, click on Build followed by Install to complete the installation.
That’s it! You now have fully working OS X Mavericks installed on your PC.
Once in a while, a software bug in the kernel will cause a random reboot, so in order to help kernel developers to fix and troubleshoot the reboots, a kernel log need to be submitted to the developer for further analysis and hopefully lead to a bug fix.
Most Android kernels have "RAM Consoles" to save the necessary kernel logs immediately after reboot in the RAM. The users can then retrieve this RAM log on a subsequent reboot to submit to kernel developers. Here is a quick tour on how to do that.
[ Using ADB ]
adb shell
su
cat /proc/last_kmsg > /sdcard/last_kmsg.txt
exit
exit
adb pull /sdcard/last_kmsg.txt
File last_kmsg.txt will be located in the same location as adb.exe executable.
[ Using android terminal app ]
su
cat /proc/last_kmsg > /sdcard/last_kmsg.txt
exit
exit
adb pull /sdcard/last_kmsg.txt
File last_kmsg.txt will be located on your SD-card.
[ Using Root Explorer / ES Explorer with Root ]
go to /proc folder
copy last_kmsg to /sdcard/
rename last_kmsg to last_kmsg.txt
File last_kmsg.txt will be located on your SD-card.
The best method to share the last_kmsg.txt content is to upload it to pastebin.com and send a link to the developer.
Source: faux123 (Google +)
Have any questions or comments? Feel free to share! Also, if you like this article, please use media sharing buttons (Twitter, G+, Facebook) below this post!
Android tips and tricks: Here are the steps I do to change Google account on android without a hard reset, with the tips that I will give this application is already downloaded into the android will not be erased after making changes to a google account.
The following are steps to change google account on android without a hard reset:
Go to google apps
click "Clear Data"
After that there will be a message "All information youve saved in this application Will be deleted Permanently", click OK
After that click "Back" and type "Synchronize Data", or click Home>Menu>Settings>Data synchronization
After synchronize data will display a wizard to input data to a new Google account. This wizard also arise when we just bought a new android handset or when we just do the wipe through hardreset.
To be more safety, when to change google account is also clear data on your E-Mail Cache, by clicking Settings>Applications>Manage Applications>Gmail. Click the "Clear Data". In order to process syncronisasi in E-mail is not having problems.
This Android Tips This is my trial change in Nexian Journey with my new Google account, and the results can I change my Google without Android hard reset and applications that are downloaded will be kept.
Surprise surprise. This is just in. Team Evad3rs has just released untethered Evasi0n iOS 7 – 7.0.4 jailbreak for the latest iPhone, iPad and iPod touch devices.
Available for both Windows and Mac users, Evasi0n iOS 7 jailbreak works on all iPhone, iPad and iPod touch models running iOS 7.0, 7.0.1, 7.0.2, 7.0.3 and 7.0.4.
This includes:
iPhone 5s
iPhone 5c
iPhone 5
iPhone 4S
iPhone 4
iPad 2
iPad 3
iPad 4
iPad Air
iPad mini
iPad mini 2
iPod touch 5
We will be back with full how-to tutorials. Those of you who want to jailbreak right away can do so by downloading Evasi0n from official website at Evasi0n.com or through the links given below.
DownloadEvasi0n for Windows DownloadEvasi0n for Mac
Update x1: This release has also caught Saurik, the founder of Cydia, by surprise. He has clarified it on Twitter that the Cydia build included in version 1.0 of Evasi0n 7 isn’t official, and hence will be prone to bugs. Tweaks relying on Substrate will have issues with this early release of Evasi0n. This issue will be fixed in later versions of Evasi0n 7.
Update x2: Evasi0n 7 is also compatible to work with iOS 7.1 beta 2.
Update x3: Our full step by step video tutorial is up and embedded below! For full written instructions, check out:Jailbreak iOS 7 – 7.0.4 Untethered On iPhone 5s, 5c, 5, 4s And More With Evasi0n 7 [Video Tutorial]
Subscribe to our YouTube channelfor more videos.
Update x4: Make sure you check out: List ofiOS 7 Compatible Jailbreak Tweaks And Apps In Cydia.
Update x5: Evasi0n has been updated to version 1.0.1, removing the TaiG App Store completely. The download links above have been updated.
Update x6:Evasi0n 7.x Untether 0.2update now available on Cydia, bringing Evasi0n 1.0.1 features to Evasi0n 1.0 users.
Update x7: Download links for Evasi0n embedded above have been updated to the latest version 1.0.2. This version adds fix for iPad 2 stuck at boot loop issue.
Update x8: Apple released iOS 7.1 beta 3 recently. Fortunately, the exploits used in Evasi0n7 still work on the latest beta of iOS 7.1. An unofficial version of Evasi0n7 is now available that lets youjailbreak iOS 7.1 beta 3untethered on all the devices.
Update x9: Evasi0n 1.0.4 is out with important security patches related to untether, as well as a fix for reboot loop issue on Retina iPad mini. The download links of Evasi0n above have been updated.
Update x10: New version 1.0.5 of Evasi0n is out. Adds support for the latest iOS 7.0.5 firmware which Apple released recently for iPhone 5s and iPhone 5c. Download links for Evasi0n jailbreak tool have been updated.
You can follow us onTwitter, add us to your circle onGoogle+or like ourFacebook pageto keep yourself updated on all the latest from Microsoft, Google, Apple and the web.
 0
komentar
0
komentar